File Upload
Download PDF
File uploads for checking are carried out on the File Upload tab of the Upload page, which is accessible through the top navigation menu. Clicking the 'Select Files for Checking' button will open a dialog box to choose files of any type. In the dialog box, it is possible to select a group of files either by mouse selection or by using the Ctrl + Left Mouse Button combination. In this version of tLab, uploading folders is not supported, only individual files.
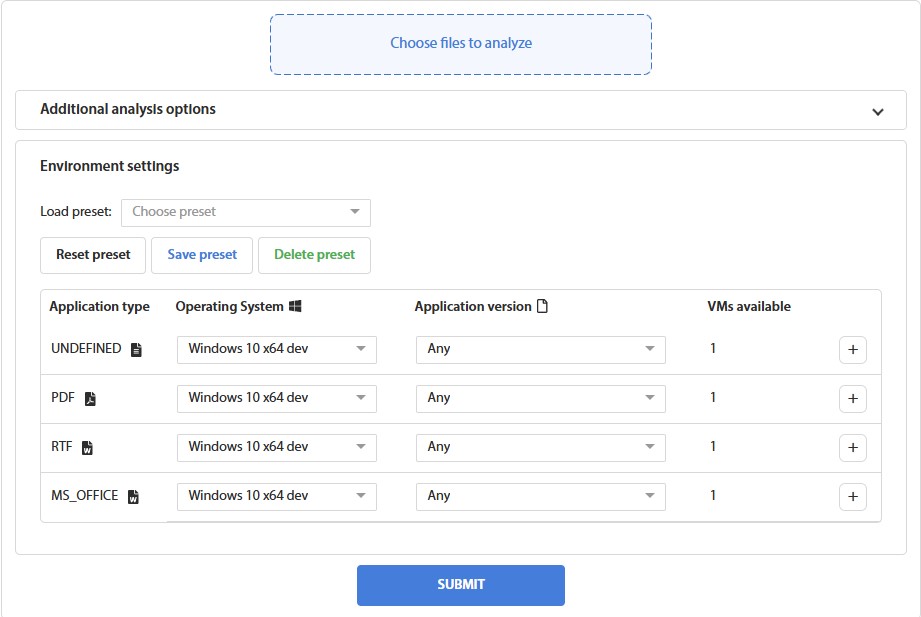
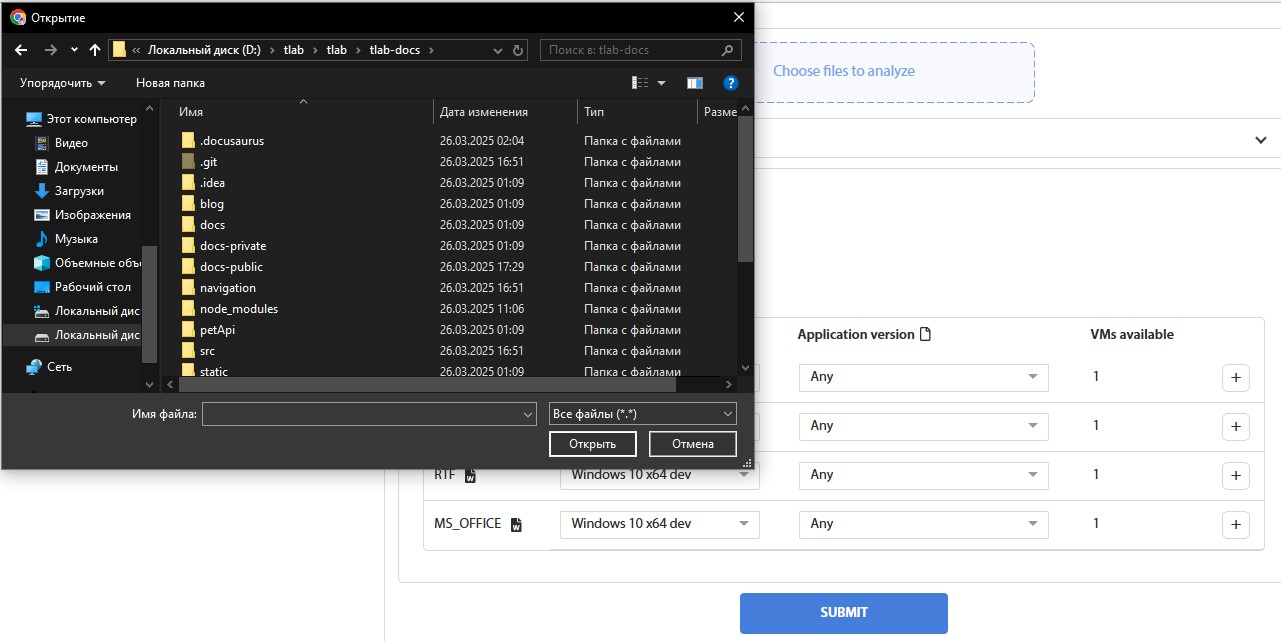
Fig. 2 — File Selection Dialog for Upload
After selecting the files, the 'Open' button will close the file selection dialog box. By repeatedly clicking 'Select Files for Checking,' you can choose files located in different directories. The default total number and size of files are limited to 10 files and 100 Megabytes, respectively.
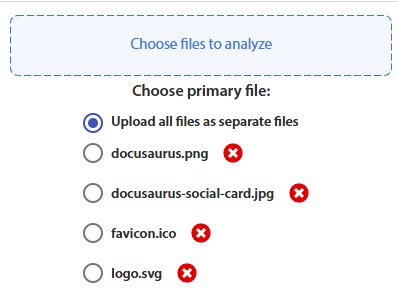
Fig. 3 – Upload Form After Selecting a Group of Files
You can cancel the selection of files (or a group of files) by clicking the red 'X' next to the file (or group).
When uploading a group of files, it is possible to perform a dynamic analysis of the entire group. This feature is necessary for checking files with dependencies. To do this, you need to select the main file, which will be executed during the analysis. The other files will then be used as dependencies and placed in the same directory.
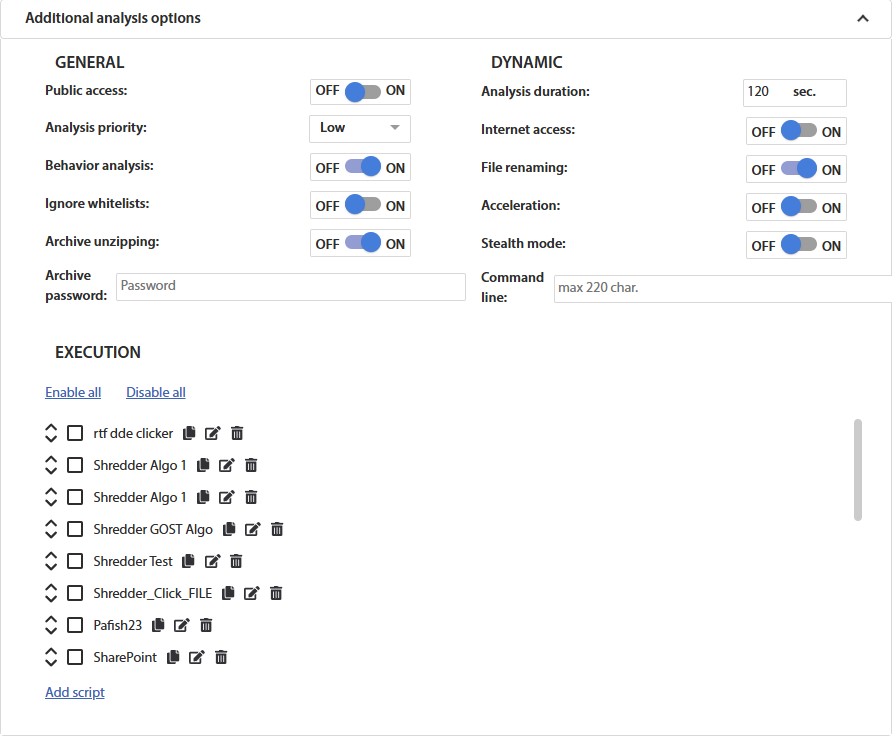
Fig. 4 – File Upload Form with Additional Settings
Additional analysis properties allow you to modify extra settings for the analysis. Here is a list of possible properties:
Public access – Enabling this option makes the reports of selected files available for viewing by all system users. Otherwise, access to the generated reports is restricted to the user who uploaded the objects and the administrator.
Analysis priority – Allows for more urgent analyses to be conducted out of turn.
Analysis type – Enables or disables the conduct of static and dynamic analyses. By default, all types of analysis are performed.
Ignore whitelists – By default, trusted files are not analyzed, and a message about their trusted status appears. When this option is enabled, all files, including those on the whitelist of trusted files, are analyzed.
Archive unzipping – Activating this option triggers the unpacking of uploaded archives and conducts a separate analysis for each object contained within the archive. Activating this option does not affect the processing of other types of files during upload.
Archive password – This field is used for entering the password for the archive, if one is required.
Analysis duration – Used to set the duration of the dynamic analysis. The default is 2 minutes, with a maximum of 60 minutes.
Internet access – Grants access to the internet from the container during dynamic analysis. Caution is required when analyzing network-spreading viruses such as WannaCry and Petya. By default, network access is disabled.
File renaming – Activating this option changes the original name of the uploaded object during dynamic analysis. This name is then used in the event chain.
Acceleration – Enabling this option mitigates the main types of delays, including hard-to-eliminate micro-delay loops.
Command line – Allows specifying command line parameters for launching the analyzed file during dynamic analysis..
Versions – This option allows the selection of the environment for dynamic analysis for Microsoft Office and Adobe Reader documents. Choosing more than one version will create multiple analyses and generate several reports.
For one analysis, it is advisable to select an environment from one group (for example, only from the Microsoft Office or Adobe Reader group).
User Activity Simulation Scenarios – On this panel, scenarios used during the dynamic analysis of an object with a graphical interface are selected. Each scenario has a name, activation conditions (matching by window title and/or process name), commands to be executed, minimum and maximum number of command repetitions, delay before performing actions, and delay between actions. Scenarios are executed in order from top to bottom, allowing for the creation and sequential execution of multiple scenarios for specific programs, for example, Scenario #1 presses the TAB button three times, while Scenario #2 presses the ENTER button.


Fig. 5 – User Activity Simulation Scenarios
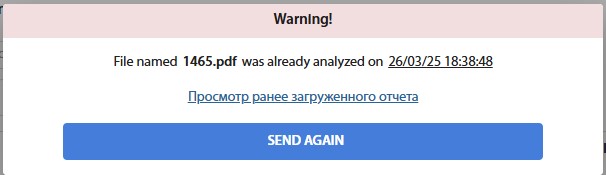
Fig. 6 – Duplicate Upload Message
When re-uploading a file that already exists in the tLab system, a message will appear with an administrative note, a link-date to the latest report, and a 'Resend' button for reanalyzing the file.

Fig. 7 — File Upload Success Message